DIY Bathroom Makeover – A Beginner-Friendly Update
Updating your bathroom doesn’t have to mean a full-scale renovation or hiring costly contractors. With some planning, basic tools, and attention to waterproofing, even a beginner can refresh fixtures, retile a small area, upgrade lighting, and improve water resistance for long-lasting results. This post walks through practical, beginner-friendly steps and essential tips to keep your bathroom both beautiful and functional.
Plan Before You Start
Begin with a clear plan. Measure the space and set a realistic budget. Decide which elements will change: fixtures (faucet, showerhead, toilet), tile (accent wall, floor), paint, storage, and lighting. For tiling and waterproofing, consider focusing on one area at a time — for example, a shower wall or vanity backsplash — to keep the scope manageable for a first project.
Essential Tools and Materials
- Basic tools: drill, screwdriver set, utility knife, level, tape measure, tile spacers, notched trowel.
- Tiling supplies: tile adhesive (thinset), grout, grout sealer, tile spacers, tile cutter or wet saw (or rent one).
- Waterproofing: waterproof membrane or liquid waterproofing product, silicone sealant, waterproof backer board for wet areas.
- Fixtures and lighting: new faucet/showerhead, vanity light, LED bulbs, possibly a new vanity or mirror.
Demo and Prep
Turn off water and power to the area you’re working on. Remove old fixtures carefully; keep screws and small parts labeled. For tile work, remove loose or damaged tiles and clean the substrate. If you’re tiling a shower, remove drywall and install cement backer board or a waterproof substrate. Proper substrate preparation is key to avoiding mold and tile failure later on.
Waterproofing Tips (Don’t Skip These)
- Use a proper waterproof membrane on shower walls and floors. Liquid membranes are beginner-friendly and brush or roll on easily; sheet membranes offer strong protection but require careful seams.
- Seal all seams and transitions with waterproof tape or membrane and use a flexible silicone sealant at corners and where fixtures penetrate the wall.
- Install cement backer board in wet zones rather than drywall; backer board resists moisture and holds tiles better.
- After grouting, apply a grout sealer to reduce water absorption and staining. Reapply annually in high-moisture areas.
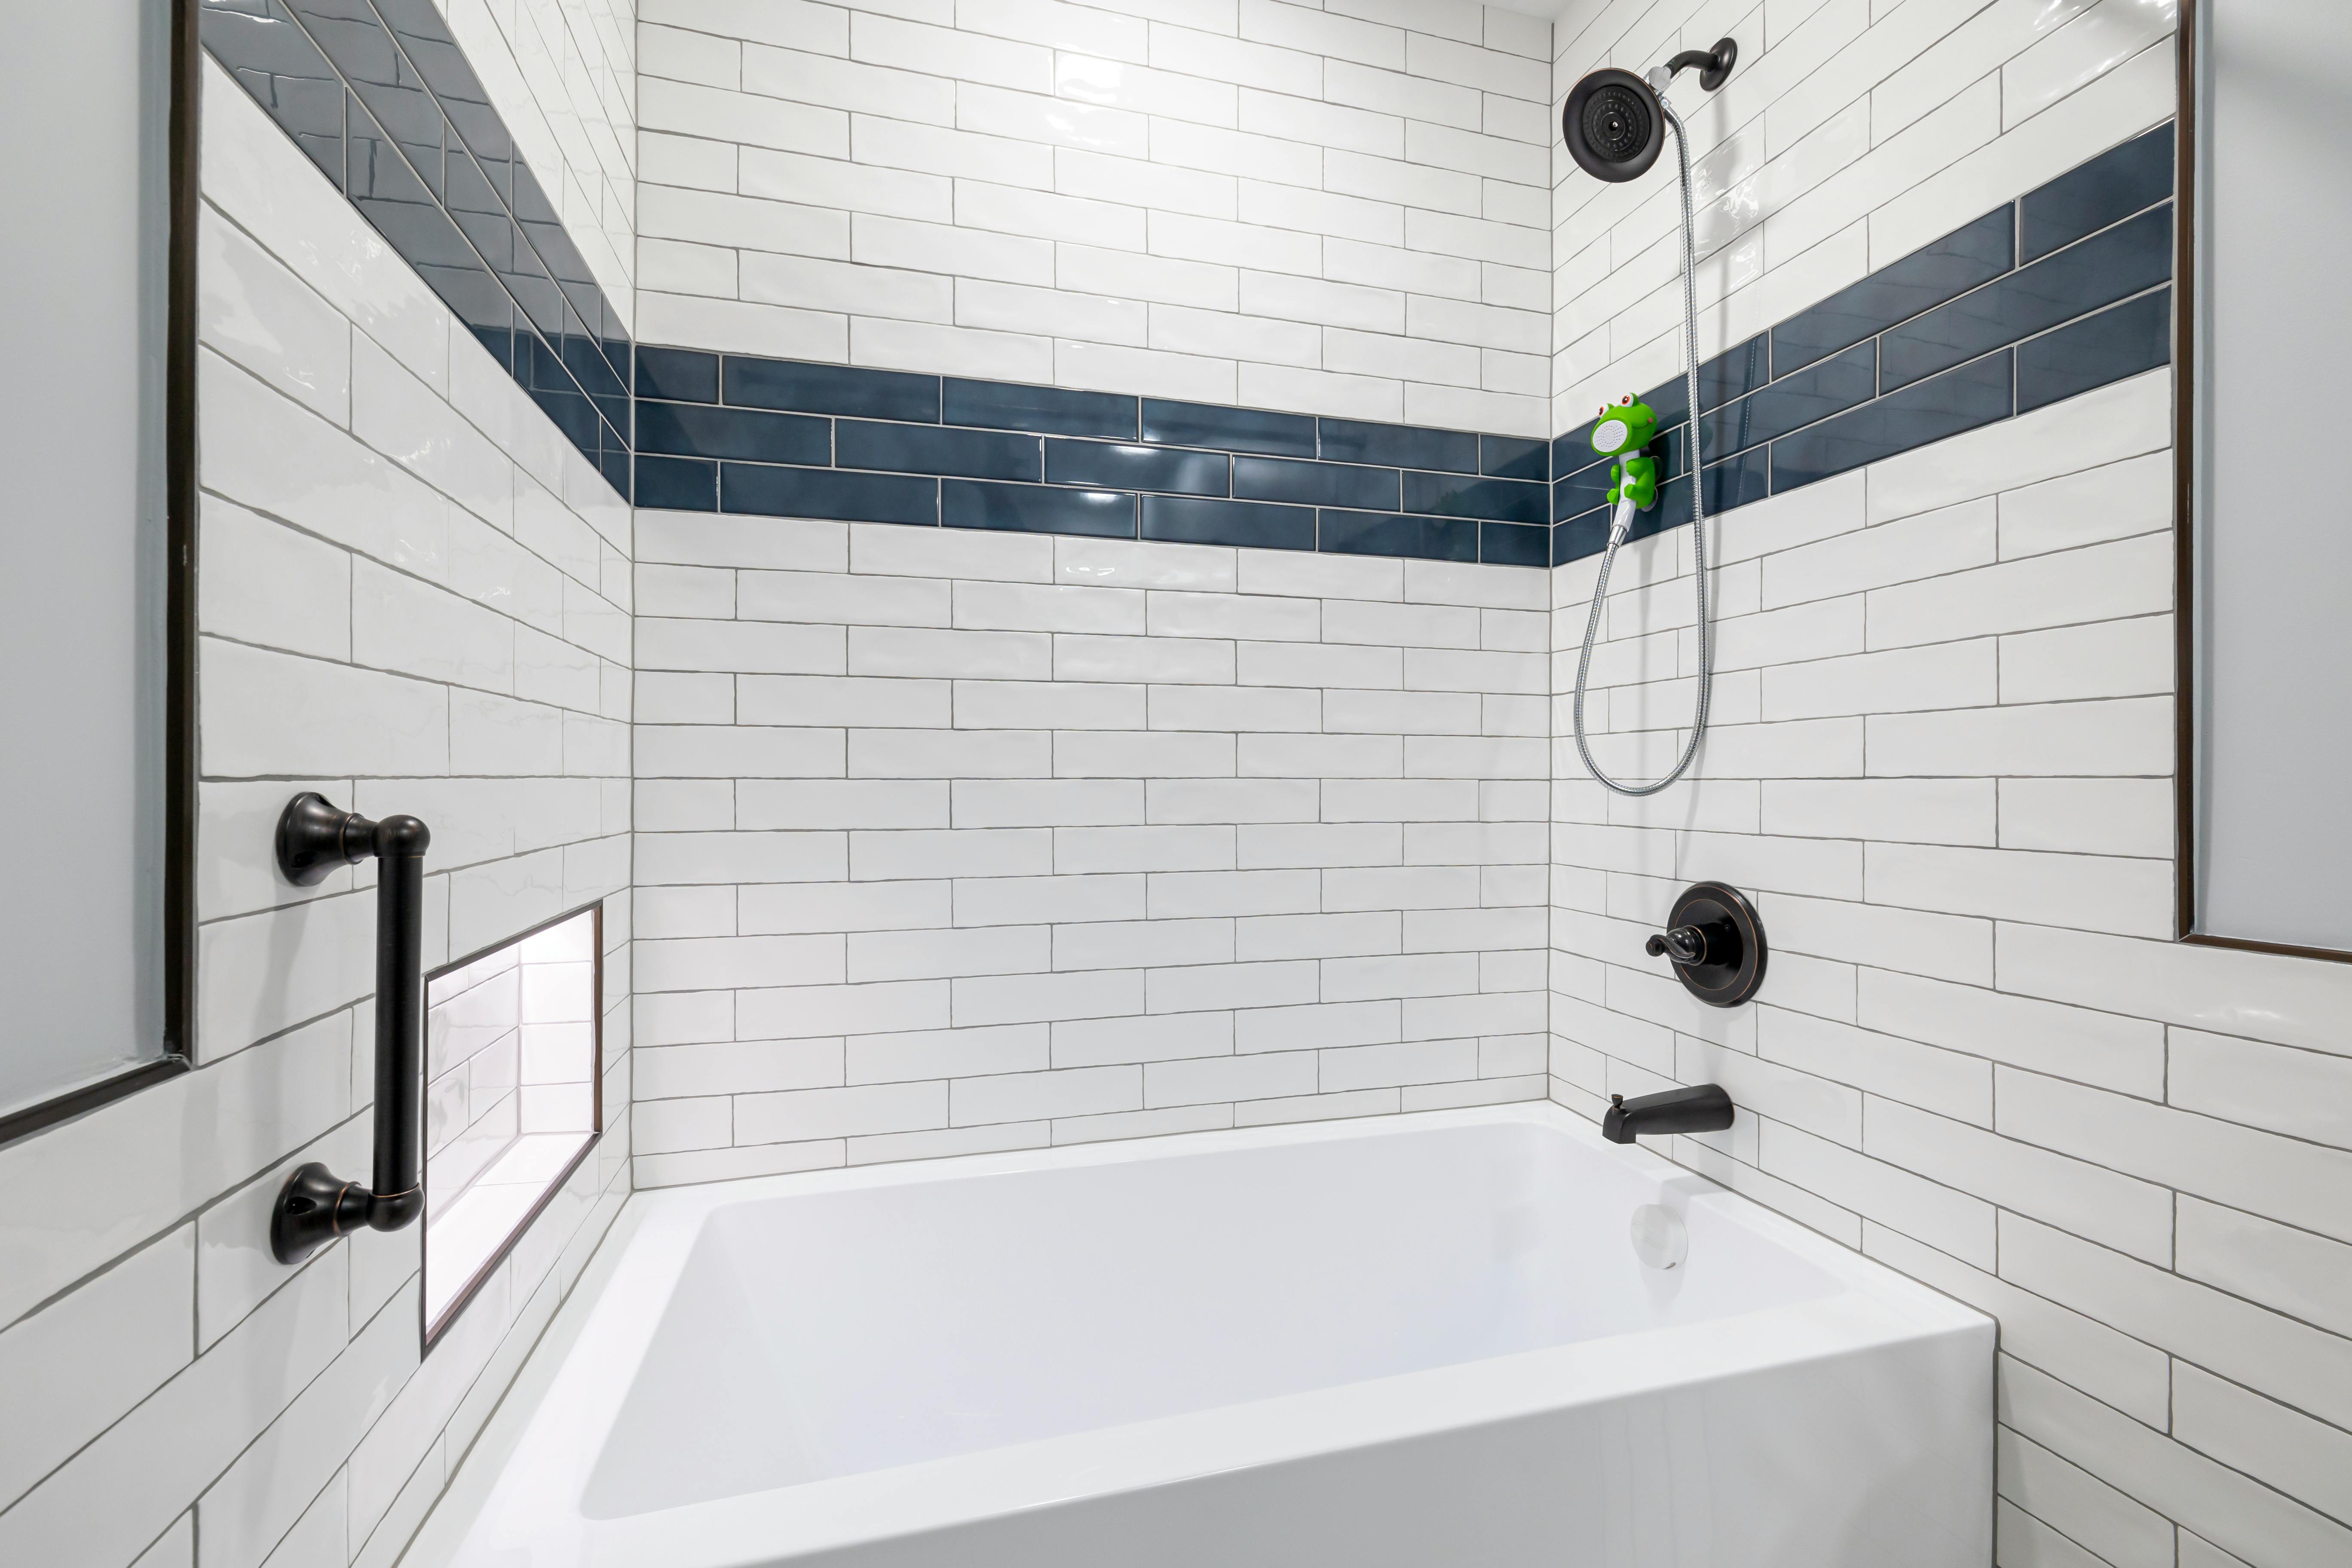
Tiling Basics
Start by planning the layout and dry-fitting tiles. Use spacers for consistent gaps. Spread thinset mortar with a notched trowel and press tiles firmly, using a level to maintain flatness. Allow the adhesive to cure fully before grouting. When grouting, work in small sections, clean the excess with a damp sponge, and let the grout cure per manufacturer instructions. Finish by applying grout sealer.
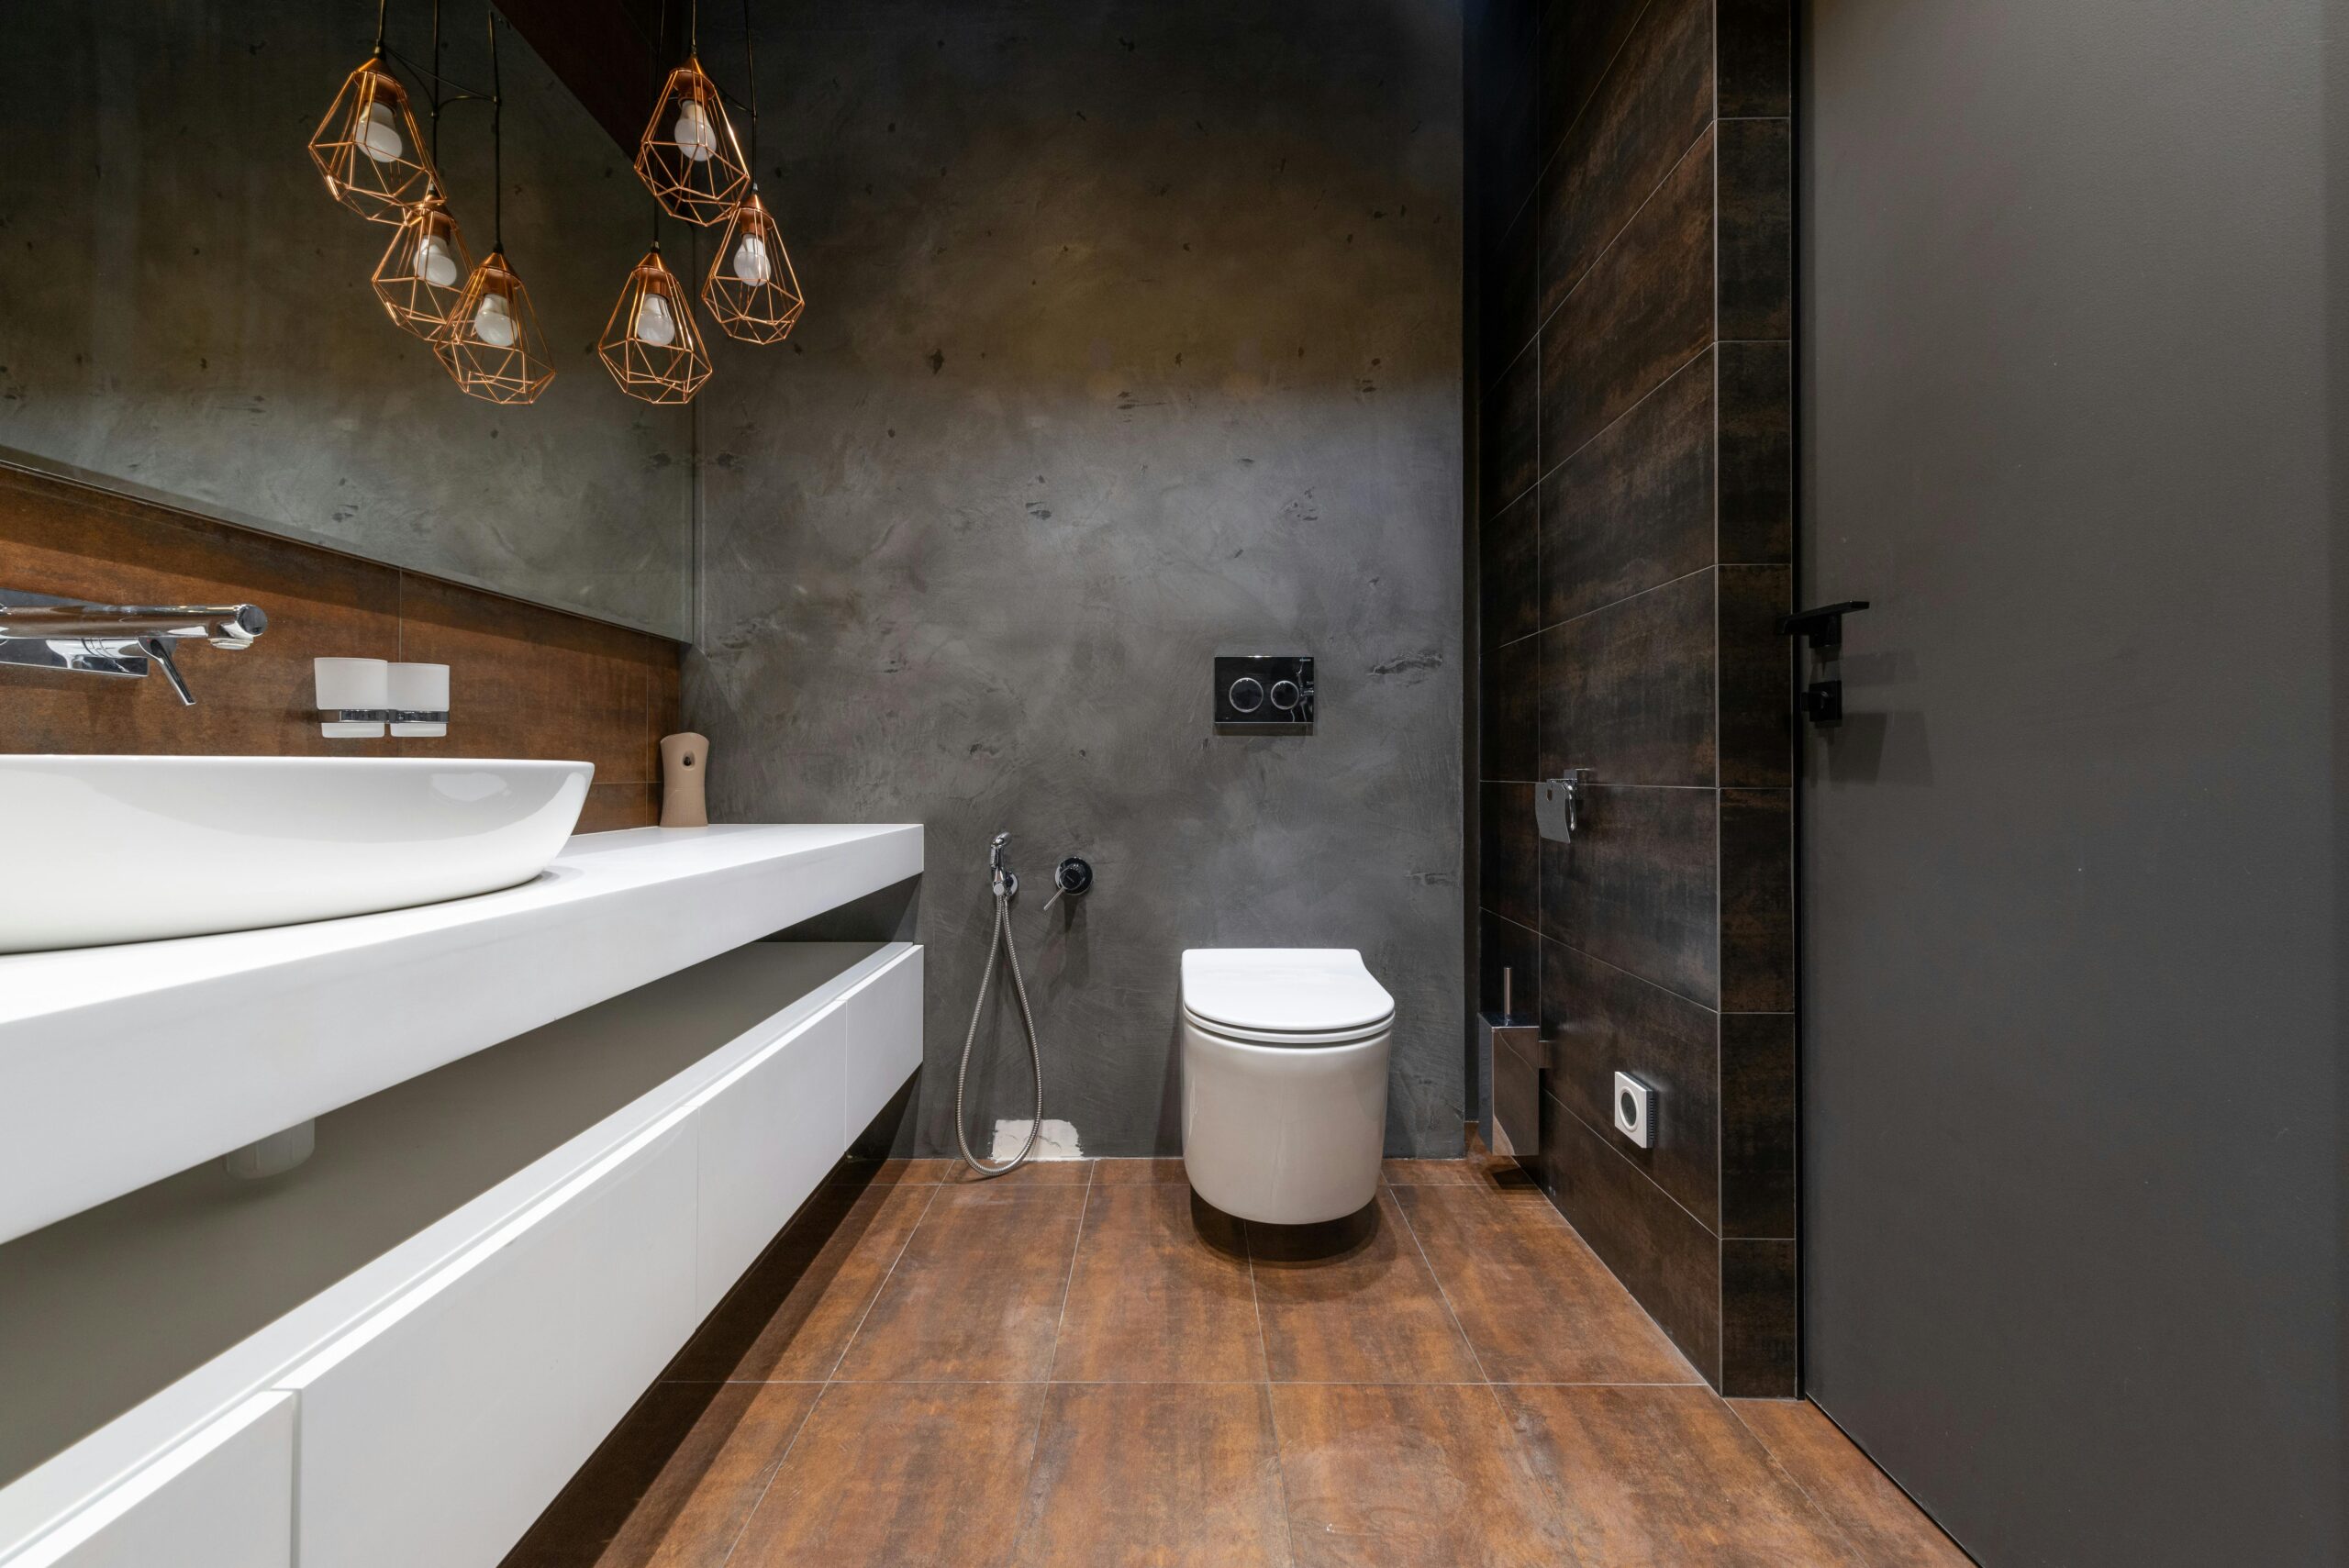
Fixture Upgrades
Replacing faucets, showerheads, or cabinet handles can greatly refresh the look without heavy labor. When choosing fixtures, match finishes to existing hardware for a cohesive look. For plumbing swaps, turn off water, drain the lines, and use plumber’s tape on threaded connections. If you encounter issues like corroded fittings or complex valve replacements, consult a plumber.
Lighting and Ventilation
Good lighting transforms a bathroom. Consider layered lighting: bright task lighting around the mirror, ambient overhead lighting, and accent lighting for atmosphere. Upgrade to energy-efficient LED bulbs and fixtures. Proper ventilation keeps moisture down; ensure your exhaust fan vents outside and run it during and after showers to reduce humidity and protect finishes.
Finishing Touches and Maintenance
Add fresh caulking around tubs and sinks, repaint walls with mold-resistant bathroom paint, and install accessories like towel bars and shelving. Regular maintenance includes re-sealing grout yearly, checking caulk lines, and keeping the exhaust fan clean. Small seasonal checks prevent bigger problems down the line.
Budget and Time Estimates
For a modest update focused on fixtures, lighting, and a single tiled area, plan for a weekend to a couple of weeks depending on drying times and your pace. Budget can range widely: a simple refresh might be under $500, while more extensive tiling and new fixtures could reach $2,000 or more. Shop sales on fixtures and consider repurposing or painting existing cabinets to save money.
Final Thoughts
A bathroom makeover is a rewarding project you can tackle in stages. Prioritize waterproofing in wet areas, take your time with planning and prep, and don’t hesitate to call a professional for complex plumbing or electrical tasks. With patience and the right materials, you can achieve a refreshed bathroom that looks great and stands up to everyday use.
Ready to start your project? Create a checklist, gather tools and materials, and take it one task at a time. If you have questions about specific steps, post them below and I’ll help troubleshoot common beginner issues.


LenaM
Great guide for beginners—especially the waterproofing tips. Helped me avoid mistakes on my first tile job.
HomeGuy87
Thanks for the lighting suggestions. Swapped to LED vanity lights and it made a huge difference.
DIYDad
Would love a follow-up with a step-by-step on installing liquid waterproofing membrane. Any recommendations on brands?
SophieR
Clear and practical. The budgeting section set my expectations correctly. I appreciated the maintenance tips too.
MarkThePlumber
Nice overview—just a note: for major valve replacements, consider consulting a pro to avoid costly leaks.