Painting Like a Pro
Whether you’re refreshing a single room or refinishing furniture, achieving a professional-looking paint job starts long before the brush touches the surface. This guide covers the essential materials, surface preparation steps for common substrates, professional painting techniques, and the most common mistakes to avoid so your finish looks clean, durable, and evenly applied.
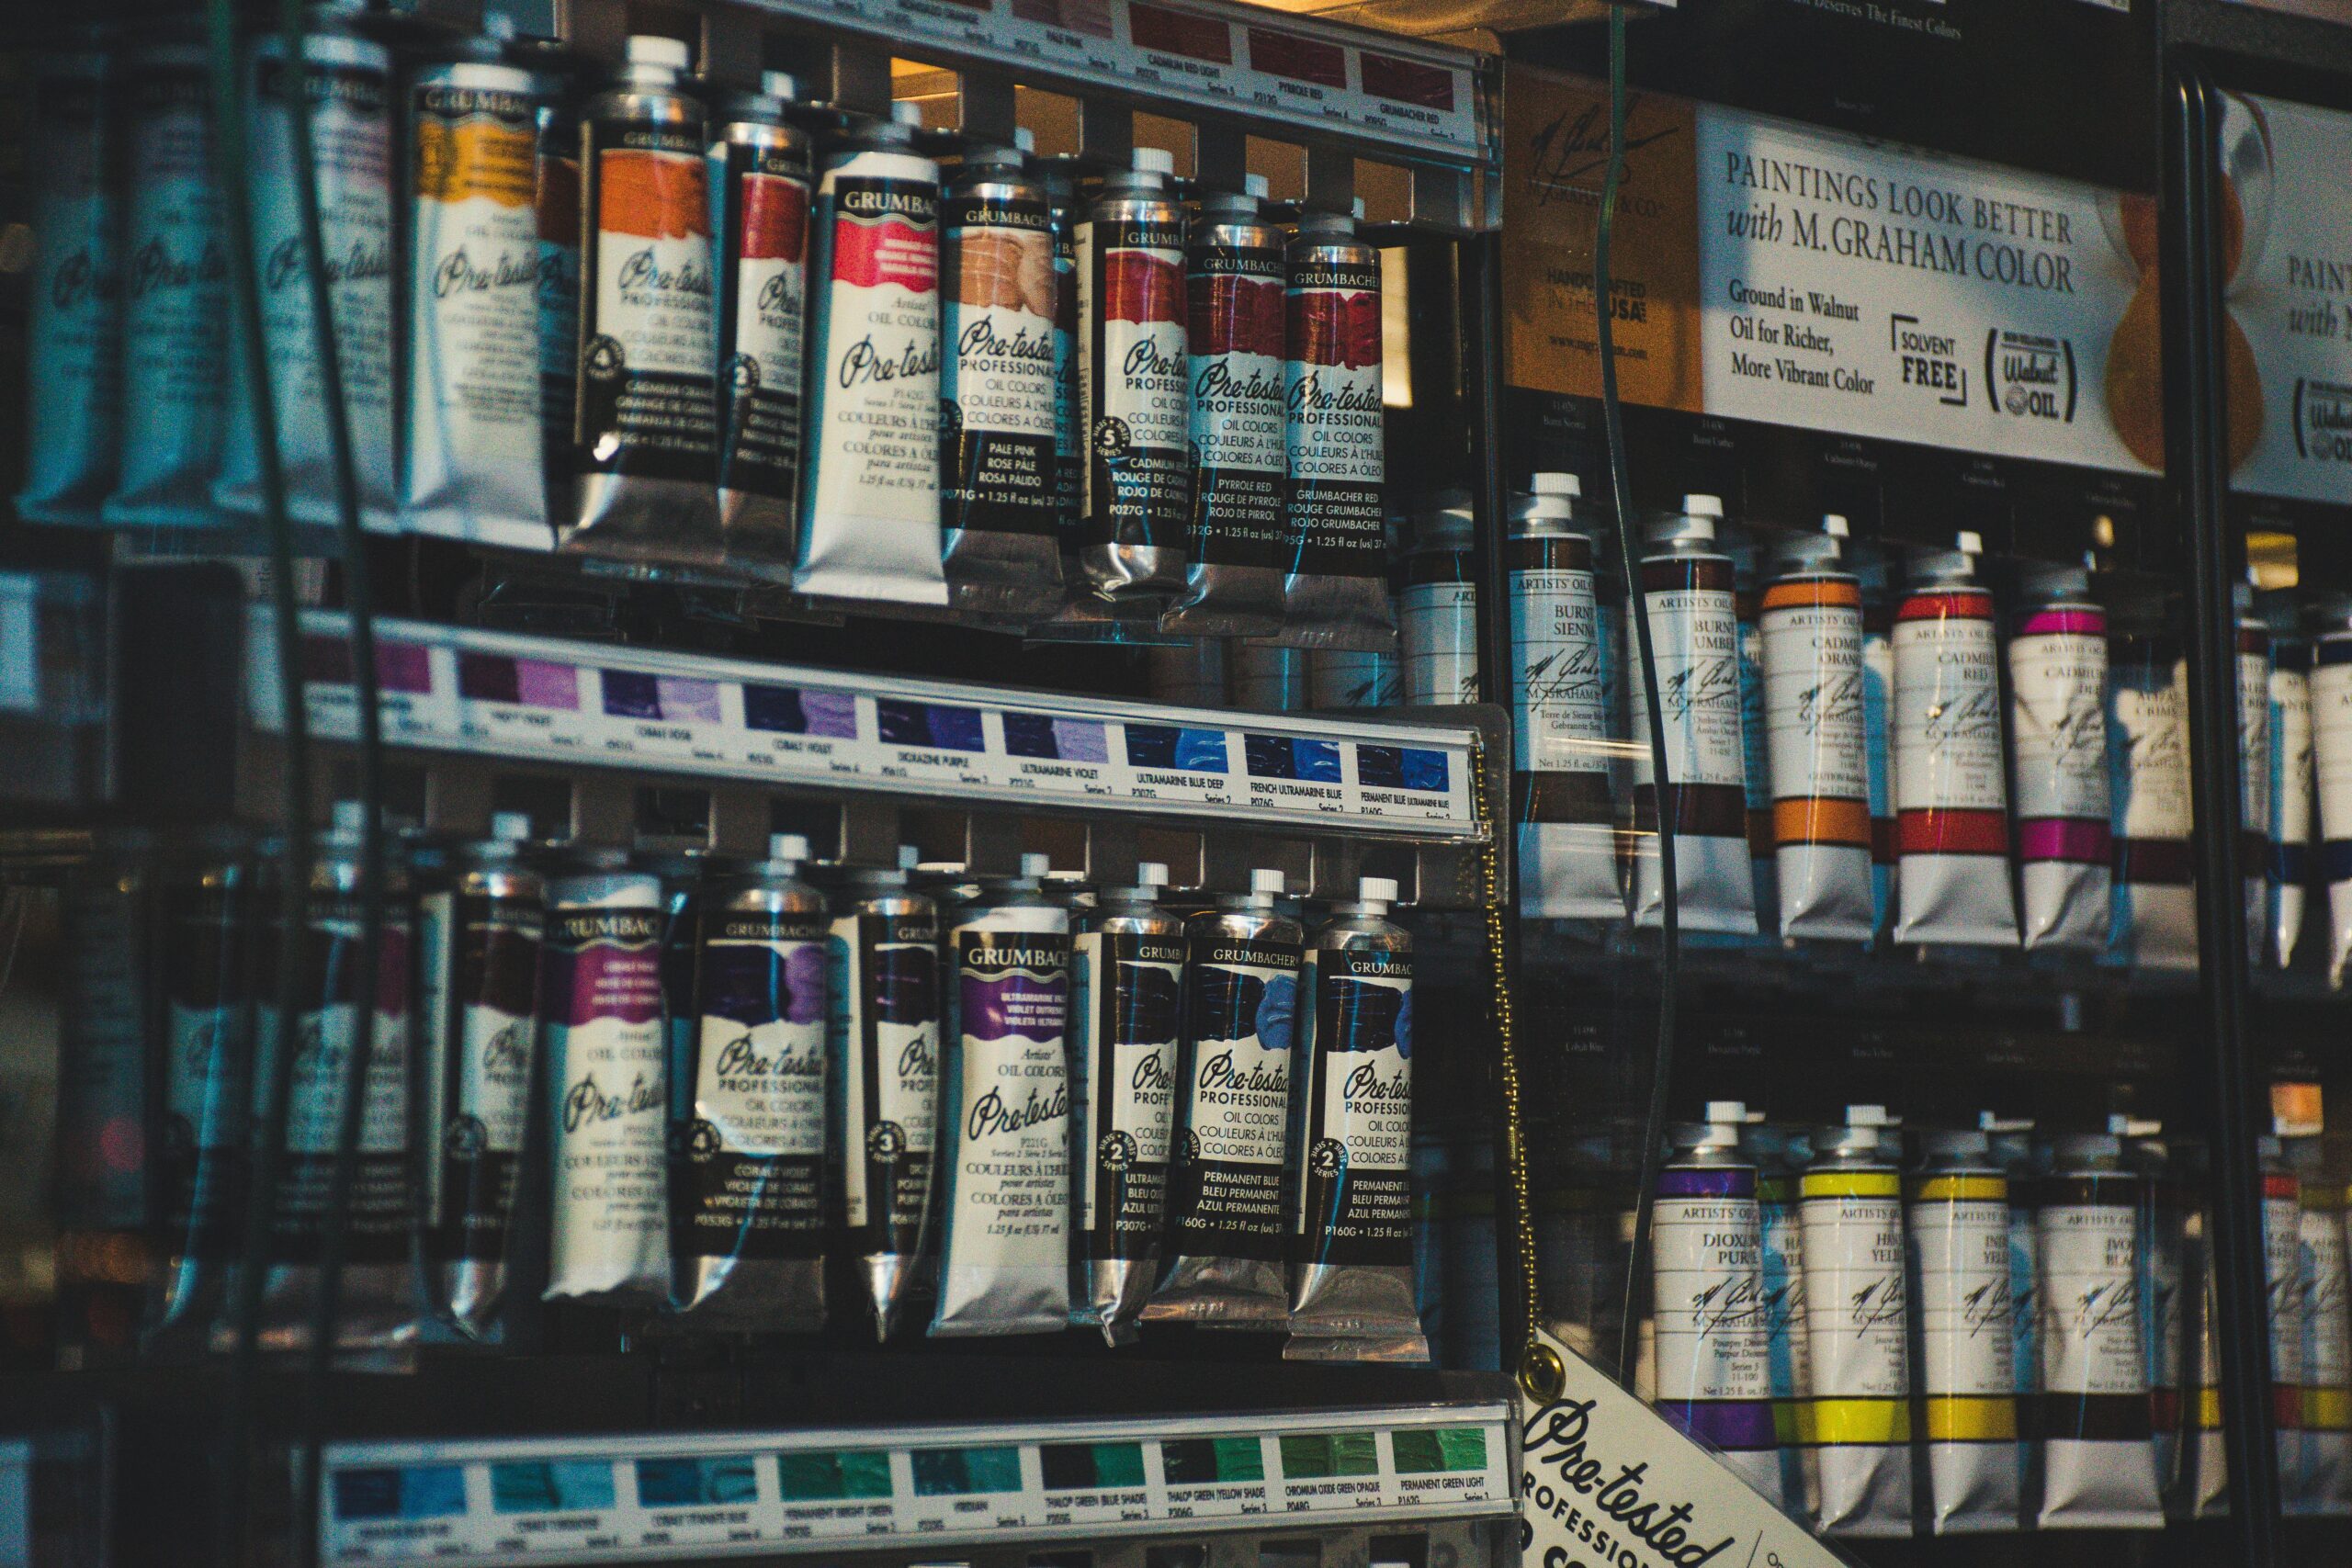
Essential Materials
- Paint: Choose the right type (latex/waterborne for most interiors, alkyd for trim or cabinets, exterior formulations for outside use).
- Primer: Standard, stain-blocking, or bonding primers depending on substrate and condition.
- Brushes: A high-quality angled sash brush (2.5″ or 3″ for trim), smaller brushes for detail work.
- Rollers & Covers: Select nap length to match surface texture (short nap for smooth drywall, longer nap for textured walls).
- Sprayer: HVLP or airless units for large projects or cabinetry—practice first.
- Sanding supplies: Various grits (120–220) and sanding blocks for smooth transitions between coats.
- Tape, drop cloths, fillers, caulk, and safety gear (gloves, respirator/mask for spray or solvent-based paints).
Surface Preparation: The Foundation of a Professional Finish
Good prep prevents most failures. The checklist below applies to wood, drywall, metal, and previously painted surfaces:
- Clean: Remove grease, dirt, and chalking with a mild detergent or trisodium phosphate alternative. Rinse and let dry.
- Repair: Fill holes and cracks with appropriate filler. For exterior or heavy-use items, use epoxy or exterior-grade fillers.
- Sanding: Smooth rough spots and feather edges of old paint. Sand between coats to promote adhesion and remove imperfections.
- Prime: Use a primer tailored to the substrate—stain-blocking for tannin bleed (e.g., on cedar), bonding primer for glossy surfaces, rust-inhibiting for metal.
- Mask and Protect: Use painter’s tape on trim lines, protect floors and furniture with drop cloths, and remove outlet covers and hardware where possible.

Techniques for a Professional Finish
Technique matters as much as materials. Adopt these practices for smoother results:
- Cutting In: Paint a 2–3 inch border along ceilings, trim, and corners with a steady angled brush. Keep a wet edge to avoid lap marks.
- Rolling: Load the roller evenly, use a “W” or “M” pattern to distribute paint, then roll over to even out without excessive pressure.
- Brushstrokes: Use long, even strokes and avoid over-brushing. For trim, pull the paint in the direction of the grain.
- Spray Best Practices: Maintain consistent distance and speed. Back-roll sprayed applications for porous surfaces to ensure full coverage.
- Layering: Apply several thin coats rather than one thick coat. Thin coats dry faster, level better, and reduce drips.
- Sanding Between Coats: Lightly sand with fine grit (220) to remove dust nibs and improve adhesion for subsequent coats.
- Tape Removal: Remove painter’s tape at a 45° angle while paint is still slightly tacky or after it fully cures depending on the tape manufacturer’s instructions.
Common Mistakes and How to Avoid Them
Avoid these pitfalls to keep your paint job looking professional:
- Skipping Prep: Paint over dirt, grease, or loose material and the finish will fail prematurely. Always clean and prime when necessary.
- Using the Wrong Primer: Primer choice affects adhesion and stain blocking—mismatches lead to bleed-through, peeling, or poor coverage.
- Applying Paint Too Thickly: Thick coats sag, wrinkle, and take much longer to cure. Use multiple thin coats instead.
- Painting in Poor Conditions: High humidity, low temperatures, or dusty environments compromise drying and finish. Follow manufacturer guidelines for temperature and humidity ranges.
- Overloading Brushes or Rollers: Excess paint causes drips and uneven coverage. Load tools and remove excess before applying.
- Neglecting Drying and Cure Times: Measure recoat times, not just surface-dry times. Insufficient cure can cause finish failures under stress.
- Poor Color and Sheen Choices: Gloss levels highlight imperfections—use appropriate sheen for the surface and maintenance needs.
Final Tips for a Pro-Level Result
Work methodically, take your time, and inspect lighting for missed spots. Small steps yield big rewards: keep tools clean, store paint properly, and touch up with the same batch when possible (label mixed cans with date and tint). If using a sprayer, practice on cardboard to dial settings before attacking the project.
With the right materials, thorough preparation, disciplined technique, and attention to common mistakes, you can consistently produce a professional finish that lasts. Happy painting—and remember: the surface you prepare is the surface that will last.


Maya L.
Great, thorough guide—especially appreciated the tips on primer selection and drying times. Helped me avoid several rookie mistakes on a recent cabinet project.
Carlos R.
Could you add recommendations for low-VOC products and brand examples? Otherwise very practical and clear.
Janet P.
The sanding between coats tip is gold. I used to skip it and always had uneven finishes. Thanks for explaining why thin coats are better.
Owen T.
Helpful article. For outdoor projects, remember to check the surface temperature relative to the paint’s recommended range—sun-heated siding can cause flash drying.